




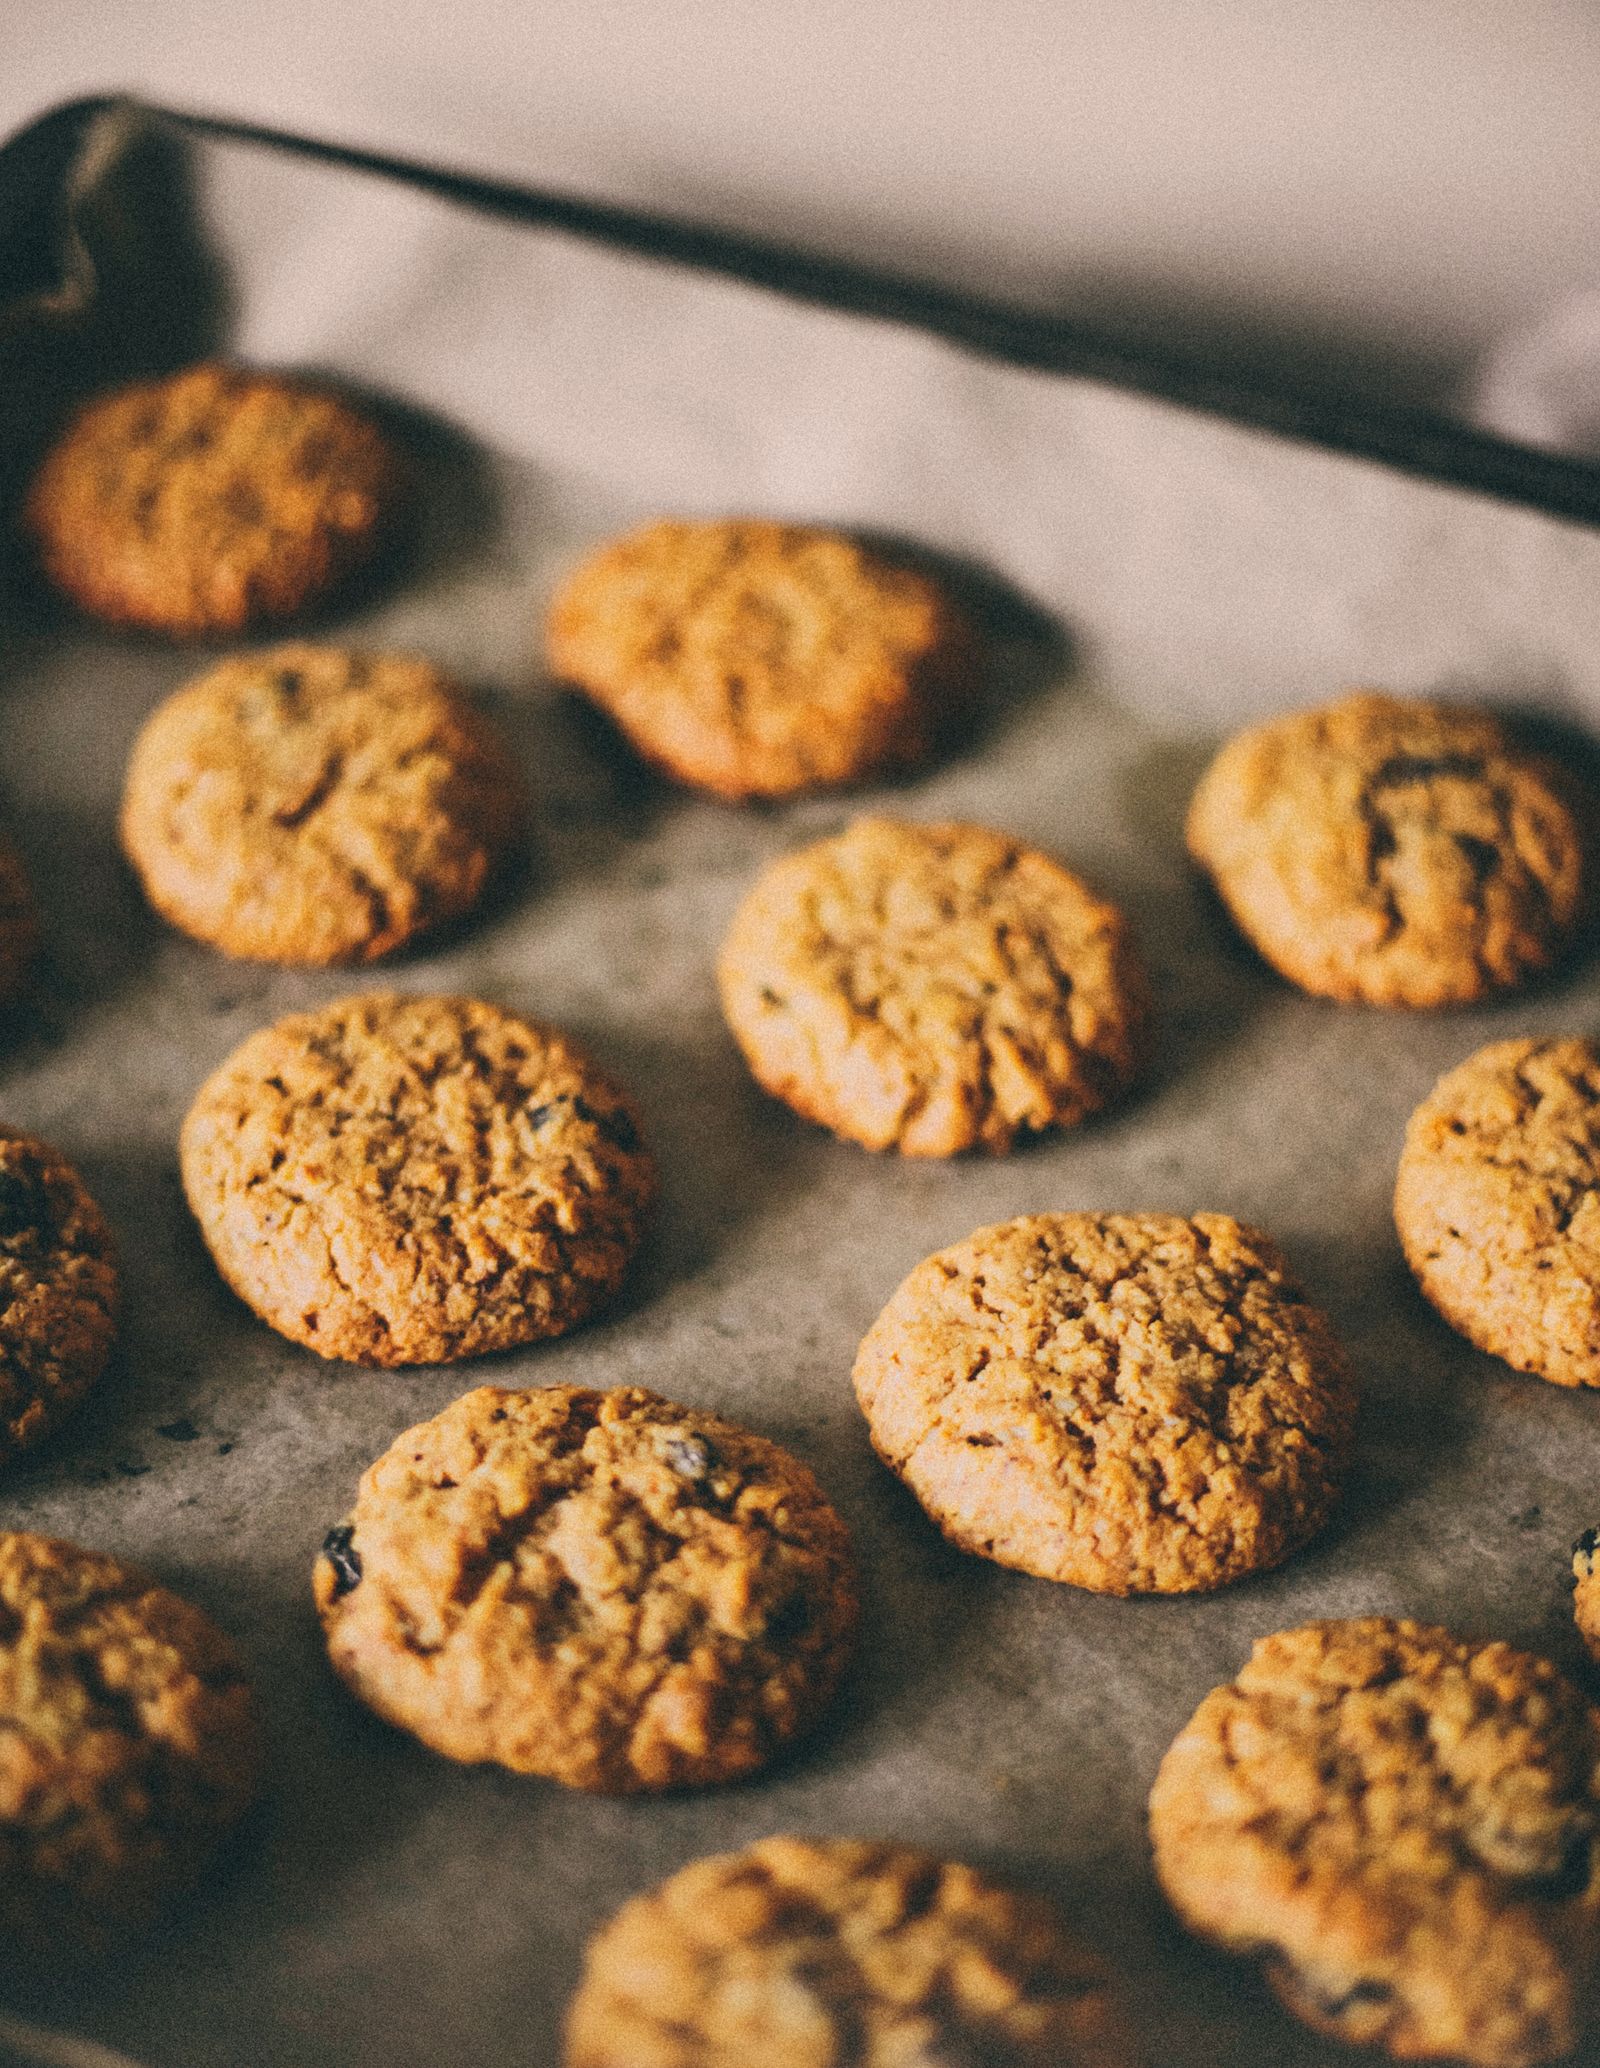
You follow the recipe, and the cookies come out thin, greasy and joined at the edges. Spread is not a mystery. It is the balance between how fast the fat melts and how fast the structure around it sets. Five things move that balance.
1. Butter temperature
This is the usual culprit. "Room temperature" means about 18-20°C: cool to the touch, holds a fingerprint, does not smear. Butter that has been sitting in a warm kitchen is already half-melted, and melted butter cannot hold the air you beat into it. The dough then goes into the oven with less structure and more free fat, and it spreads before it sets.
If your kitchen is warm, cut the butter into cubes and use it straight from the fridge, beating a minute longer. If the dough looks glossy and slack after mixing, it is too warm. Chill it.
Chilling is the cheapest fix
Thirty minutes in the fridge helps. A few hours helps more, and overnight helps most, partly because the flour hydrates and the sugars start to break down, which also deepens the flavour. Cold dough spreads slower, giving the edges time to set while the middle is still rising.
2. Too much sugar, or the wrong kind
Sugar melts. More sugar means more liquid in the oven and more spread. It also matters which sugar: white sugar spreads more than brown, because brown sugar is slightly acidic and holds moisture, which sets the structure faster.
If a recipe spreads reliably, shifting some white sugar to brown gives you a thicker, chewier cookie without changing anything else.
3. Flour measured by volume
A cup of flour can vary by a third depending on whether it was scooped or spooned. Scoop straight from the bag and you compact it; spoon it in loosely and you do not. That range is the difference between a cakey cookie and a puddle.
Weigh it. A cheap digital scale removes an entire category of baking problems, and it is the reason recipes on this site give grams.
4. A hot tray
Dough placed on a tray still warm from the last batch starts melting before it reaches the oven. Use two trays and let each cool fully between batches, or run the used tray under cold water and dry it.
While you are there: dark metal trays absorb more heat and brown the bases faster than light ones. Nonstick baking paper is fine. A greased tray adds fat exactly where you do not want it, which encourages spread.
5. Tired raising agents
Baking soda and baking powder lose strength over months in a damp cupboard. Weak lift means the cookie rises less and slumps more. Test soda with a splash of vinegar and powder with hot water: both should fizz immediately and enthusiastically. If the reaction is lazy, replace them.
Note that soda and powder are not interchangeable. Soda needs an acid in the dough to react, powder brings its own.
Diagnosing from the result
- Flat and greasy, crisp all over. Butter too warm, or too much sugar. Chill the dough and check the ratio.
- Flat but dry. Too much flour and not enough fat, likely a measuring problem, plus overbaking.
- Puffed and cakey. Too much flour or too much raising agent. Weigh, and check the spoon measures.
- Crisp edge, raw middle. Oven too hot. Most home ovens run above their dial; an oven thermometer is a few euros well spent.
- Spread in the first batch only. The oven was not fully preheated, or the tray was warm.
The trick worth knowing
Take the tray out while the centres still look slightly underdone and the edges are set. Cookies keep cooking on the hot tray for several minutes. Bake until the middle looks done and you have already gone past it.
If you want thick cookies without changing the recipe at all: chill the dough, roll it into taller balls rather than flat discs, and bake them cold. Height buys time, and time is what stops the spread.