

Most home knives are blunt. Their owners know it, and have decided it is either fine or somebody else's job. It is neither: a blunt knife slides off a tomato skin and into a thumb, and it bruises everything it cuts instead of slicing it.
Sharpening is not a craft that takes years. It takes an afternoon to learn badly, which is enough, and the badly-sharpened knife is already far better than the blunt one.
Honing and sharpening are different things
A steel rod does not sharpen. It straightens. Daily use rolls the very edge of the blade over to one side, and a few passes on a steel push it back into line. That is honing, and it should happen most times you cook.
Sharpening removes metal to create a new edge. It happens on a stone or a machine, and for a home kitchen a few times a year is plenty. If honing stops restoring the bite, it is time to sharpen.
What to buy
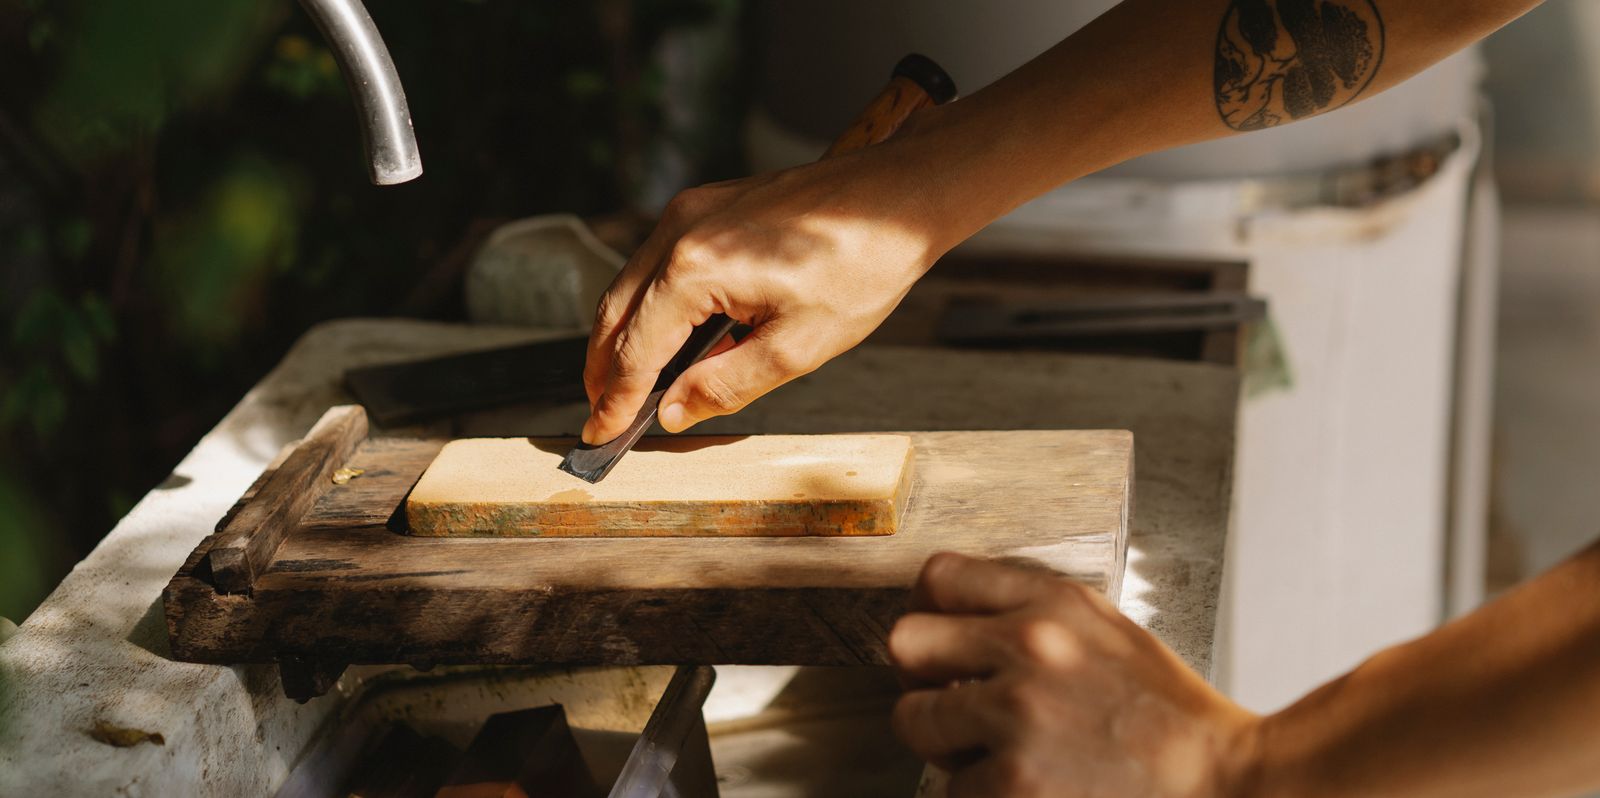
A combination whetstone, roughly 1000 grit on one side and 3000 to 6000 on the other. The 1000 does the work; the finer side polishes. This is the cheapest good option and the one that teaches you most.
A honing steel or a ceramic rod for between-sharpenings.
Pull-through sharpeners with fixed carbide wedges do work, in the sense that a knife comes out sharper than it went in. They also scrape away a lot of metal at an angle that may not be your knife's, and they will eventually reshape the blade. If you use one, treat it as a last resort rather than a routine.
The routine
- Soak the stone if it is a soaking type, usually ten minutes, until bubbles stop rising. Put it on a damp cloth so it cannot slide.
- Find the angle. Around 15 degrees per side for Japanese knives, around 20 for most European ones. Two stacked coins under the spine is a decent guide, or hold the blade flat, tilt it halfway to vertical, then halve it again.
- Push the edge across the stone as if you were trying to shave a thin layer off the surface. Consistent angle matters far more than speed or pressure.
- Work one side until you feel a burr, a faint wire of metal along the opposite edge. Run a thumb across the blade, never along it. The burr means you have reached the very edge, and without it you have only polished the shoulder.
- Turn over and repeat until a burr appears on the first side.
- Move to the fine side and do a few light passes each side, alternating, to remove the burr and polish the edge.
Testing it
Hold a sheet of paper by one corner and slice down through it. A sharp knife glides and leaves a clean edge. A blunt one snags, tears or pushes the paper away. Tomato skin is the other honest test: the blade should sink in under its own weight.
If one part of the blade cuts and another does not, you have been favouring the middle. Go back and work the heel and the tip deliberately.
Keeping the edge
- Wooden or plastic boards only. Glass, stone and ceramic boards destroy an edge in a single meal.
- Never the dishwasher. Heat, detergent and knocking against other items, all at once.
- Wash and dry straight away, and store on a magnetic strip or in a block rather than loose in a drawer.
- Do not scrape chopped food off the board with the edge. Turn the knife over and use the spine.
When to hand it over
A badly chipped edge, a blade with a rolled tip, or an expensive knife you are not ready to practise on: those go to someone who sharpens for a living. Practise on the cheap serrated-free knife at the back of the drawer first. Nobody's first stone session is pretty, and nothing is lost by learning on a knife that was already blunt.