

Almost every food photograph you admire was lit by a window. Not a ring light, not a softbox. Daylight from one side, shaped a little, and food that was ready to be eaten rather than arranged to death.
Find the light before anything else
Work next to the largest window you have, on an overcast day or in the shade if the sun is direct. Direct sunlight makes hard-edged shadows and blows out highlights; a cloudy sky is a giant softbox and is the best free equipment you own.
Turn the kitchen lights off. Mixing daylight with warm bulbs gives you two colour temperatures in one frame and a colour cast nothing will fix later.
Light from the side or behind, never from where you stand
Light from the camera position flattens everything. The window should be to the side of the dish, or behind it.
- Side light shows texture. Use it for bread crust, roast surfaces, anything with relief.
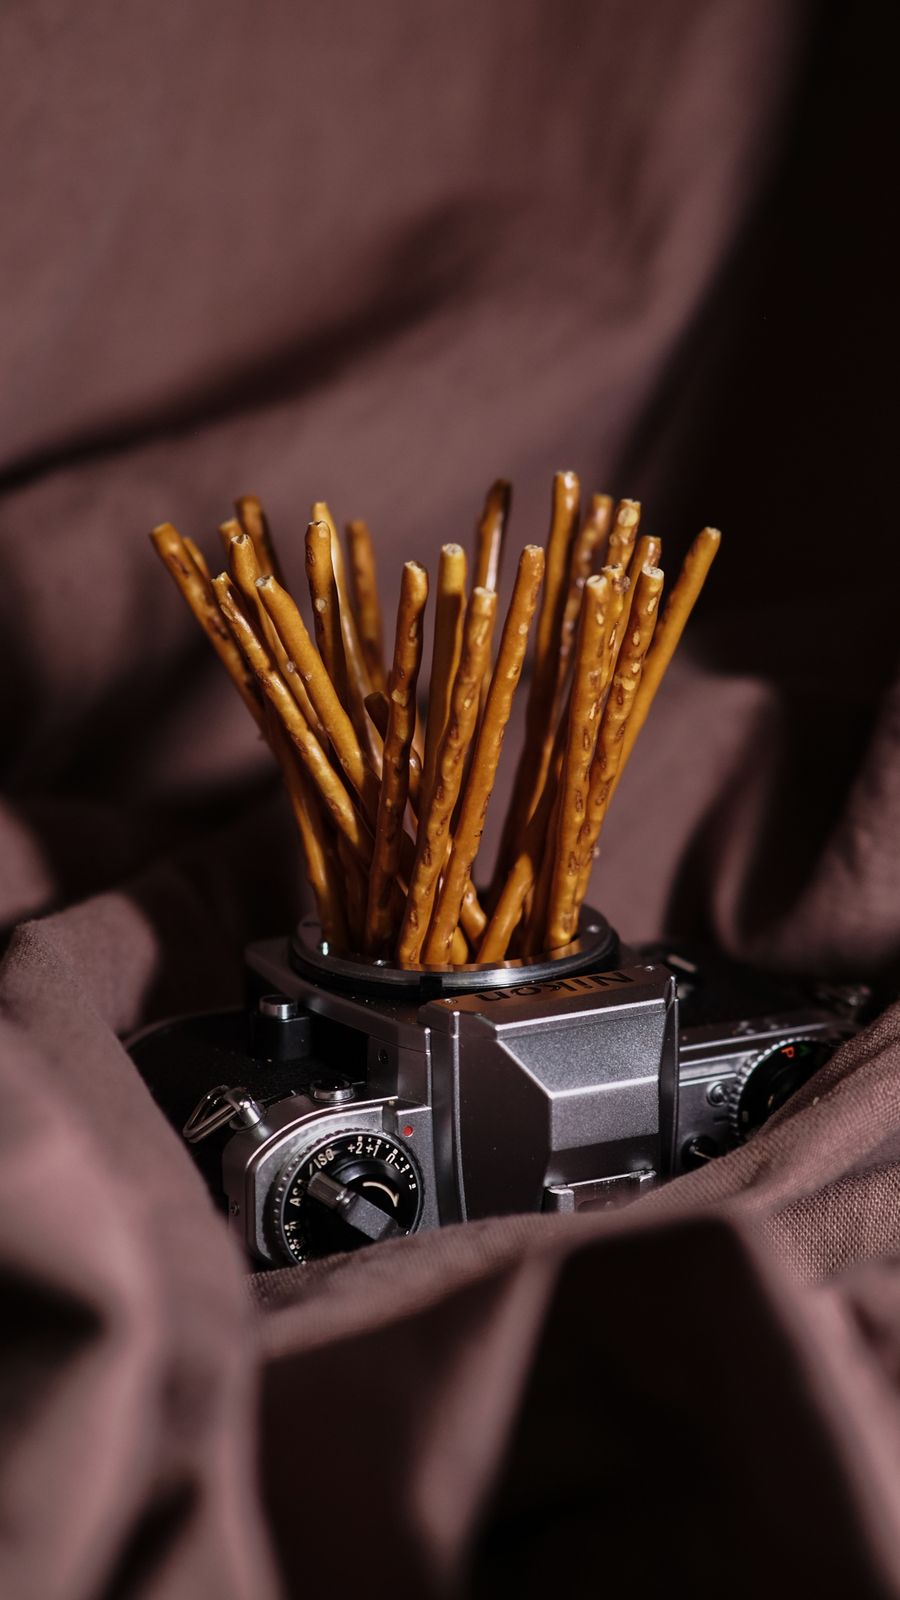
- Backlight makes liquids glow and steam visible. Use it for soups, drinks and anything glossy. Expect a dark front, which is what the bounce card is for.
The white card is the whole kit
Place a piece of white card, a baking tray lined with foil or a page of a magazine on the shadow side, angled to reflect light back into the dark part of the dish. Move it closer to soften shadows, further to deepen them.
If you want deeper, moodier shadows instead, put something black on that side. That is the entire lighting system: one window, one card, decide how much you bounce back.
Choose the angle from the food
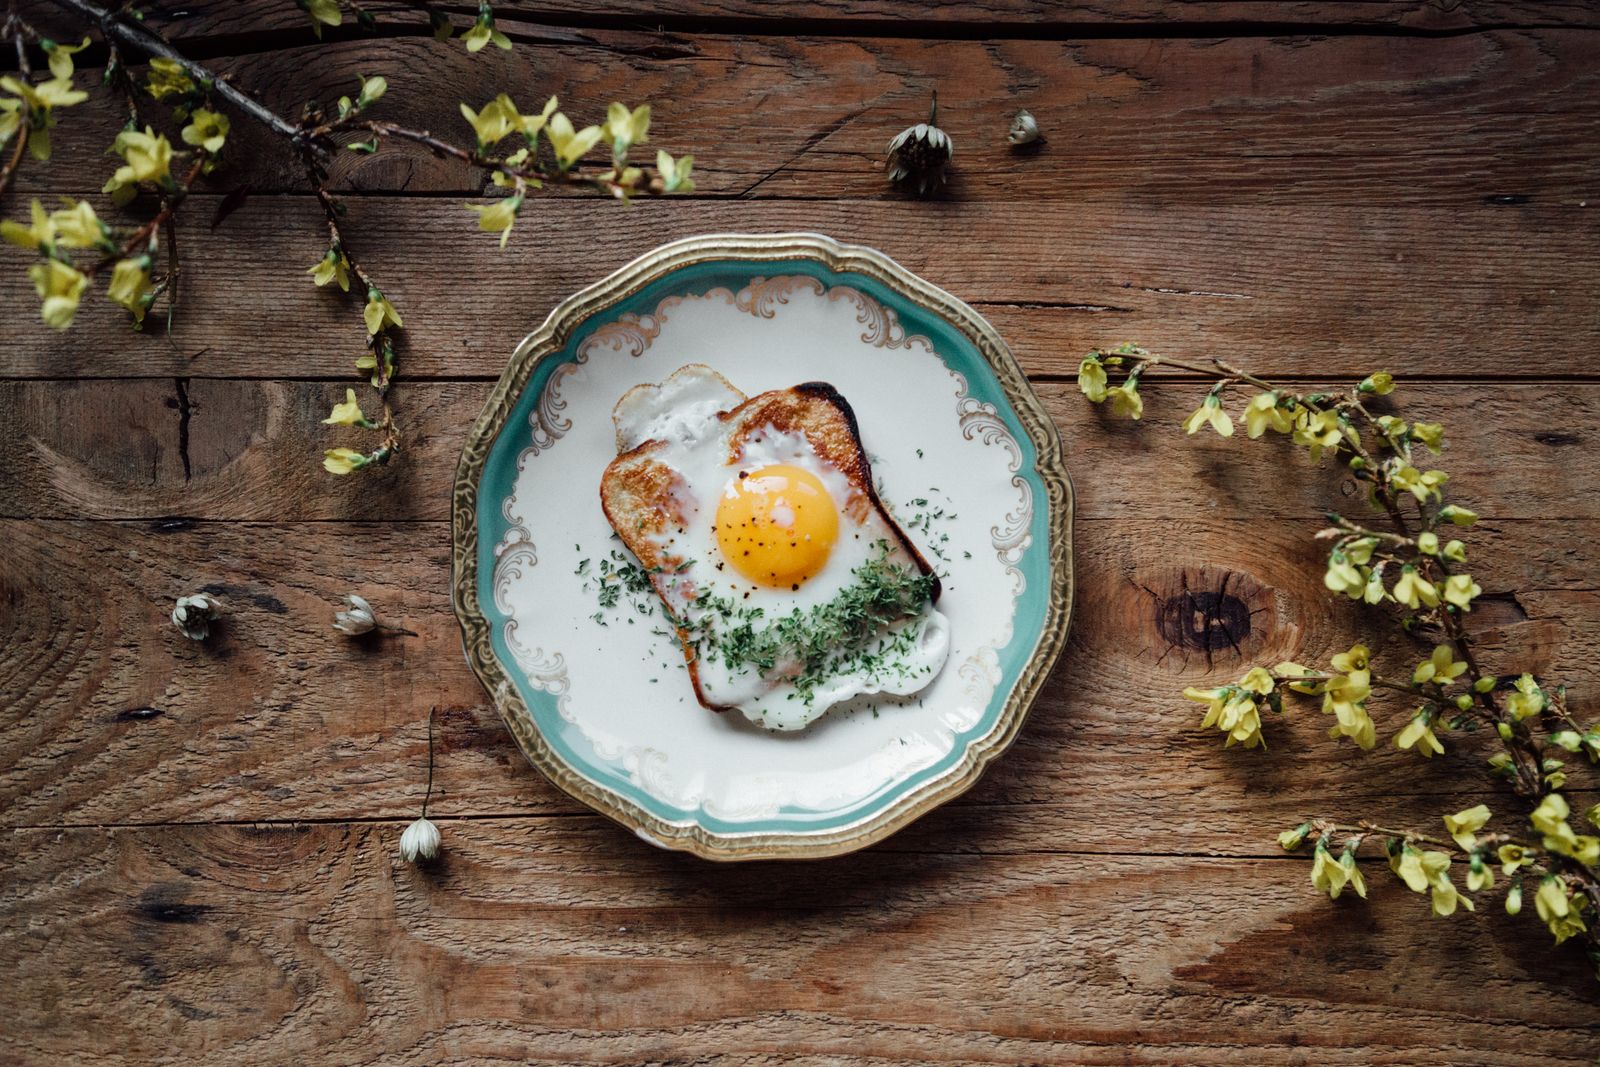
- Overhead for flat things: pizza, traybakes, a table of dishes, anything where the pattern is the point.
- Three-quarter, around 45 degrees, is how you actually see food in front of you. It suits bowls, plates and most everything.
- Straight on for height: burgers, layer cakes, stacked pancakes, drinks in a tall glass.
Shooting a bowl of soup from overhead gives you a circle. Shooting a layer cake from overhead gives you a disc. Match the angle to what makes the dish recognisable.
Style less than you want to
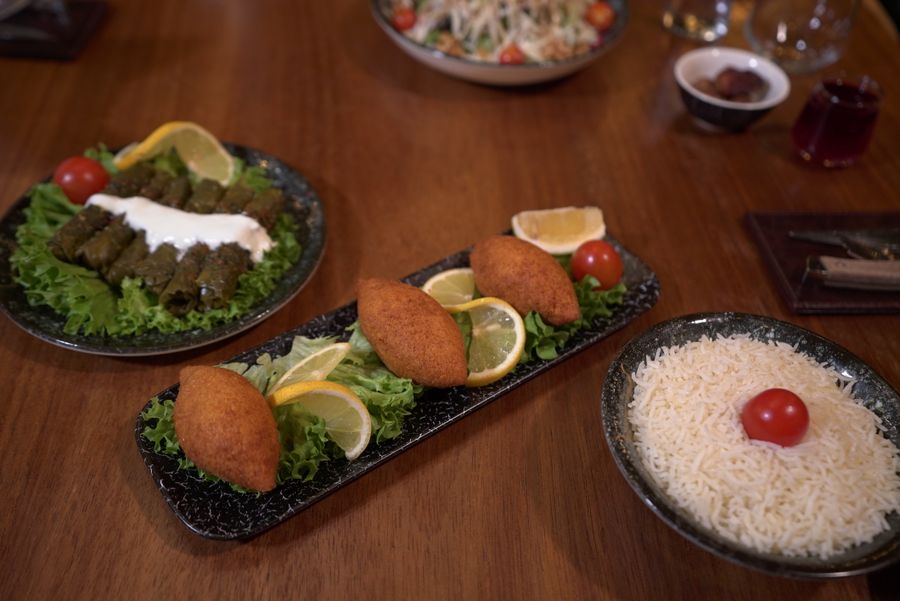
Two rules cover most of it. Do not fill the plate, because negative space is what makes food look considered. And leave evidence of eating: a fork with something on it, a torn edge, crumbs, a spoon resting in the bowl. Perfectly untouched food looks like a product shot, not a meal.
Use plates and boards that are plain and slightly darker or lighter than the food. Busy patterns fight the dish. Wooden boards, worn baking trays and plain linen all work because they recede.
Timing
Hot food photographs well for about ninety seconds. Cheese sets, sauces skin over, greens dull, ice melts. Set the shot up first with an empty plate, get the light and framing right, then plate the real food and shoot immediately.
For anything with herbs or a dressing, add them at the last second, in front of the camera.
The phone is fine
A modern phone camera in good light beats a nice camera in bad light. Three settings help: turn off the flash permanently, tap to set focus and exposure on the brightest part of the food, and pull the exposure down slightly, since phones tend to overexpose and blown-out highlights cannot be recovered.
Avoid the ultra-wide lens for close-ups; it distorts plates into ovals. Use the main lens and step back.
Editing
Keep it modest. Straighten, crop, lift the shadows a little, add a touch of contrast, correct the white balance so white plates look white. Heavy saturation makes food look artificial, and food that looks artificial does not make anyone hungry.