


Keeping a starter alive is a relationship. Some weeks you want a relationship and some weeks you want bread. A small amount of commercial yeast and a night in the fridge gets you a loaf with a proper open crumb, a blistered crust and real flavour, and it asks for about fifteen minutes of your attention in total.
The dough
- 500g strong white bread flour (or 400g white and 100g wholemeal)
- 350g water, cool from the tap. That is 70% hydration, which is wet enough to be interesting and dry enough to handle.
- 10g fine salt
- 3g instant dried yeast, which is about three quarters of a teaspoon. Yes, that little.
Weigh everything, including the water. A cup of flour is not a unit of measurement; it is a guess about how you scooped.
The method, with what each step is for
- Mix flour and water only. Stir to a shaggy mess, cover, leave 30 minutes. This rest lets the flour hydrate and starts gluten forming on its own, which saves you most of the kneading. Bakers call it an autolyse.
- Add salt and yeast. Squeeze them through the dough until evenly distributed. It will feel like it is coming apart. It is not.
- Four sets of folds, twenty minutes apart. Wet your hand, grab the far edge of the dough, stretch it up and fold it over. Turn the bowl a quarter and repeat, four times per set. The dough goes from slack to smooth and springy in front of you.
- Bulk rise, two to three hours at room temperature, or until it is noticeably domed and jiggles when you move the bowl. Not doubled; jiggly.
- Shape. Tip onto a lightly floured surface, fold the edges into the middle, flip over and drag it towards you a few times to build tension across the top. Into a floured banneton or a bowl lined with a floured tea towel, seam up.
- Fridge overnight, 8 to 16 hours. This is where the flavour comes from. Cold slows the yeast and lets slower enzymes and bacteria do their work, which is why a cold-risen yeasted loaf tastes so much better than a rushed one.
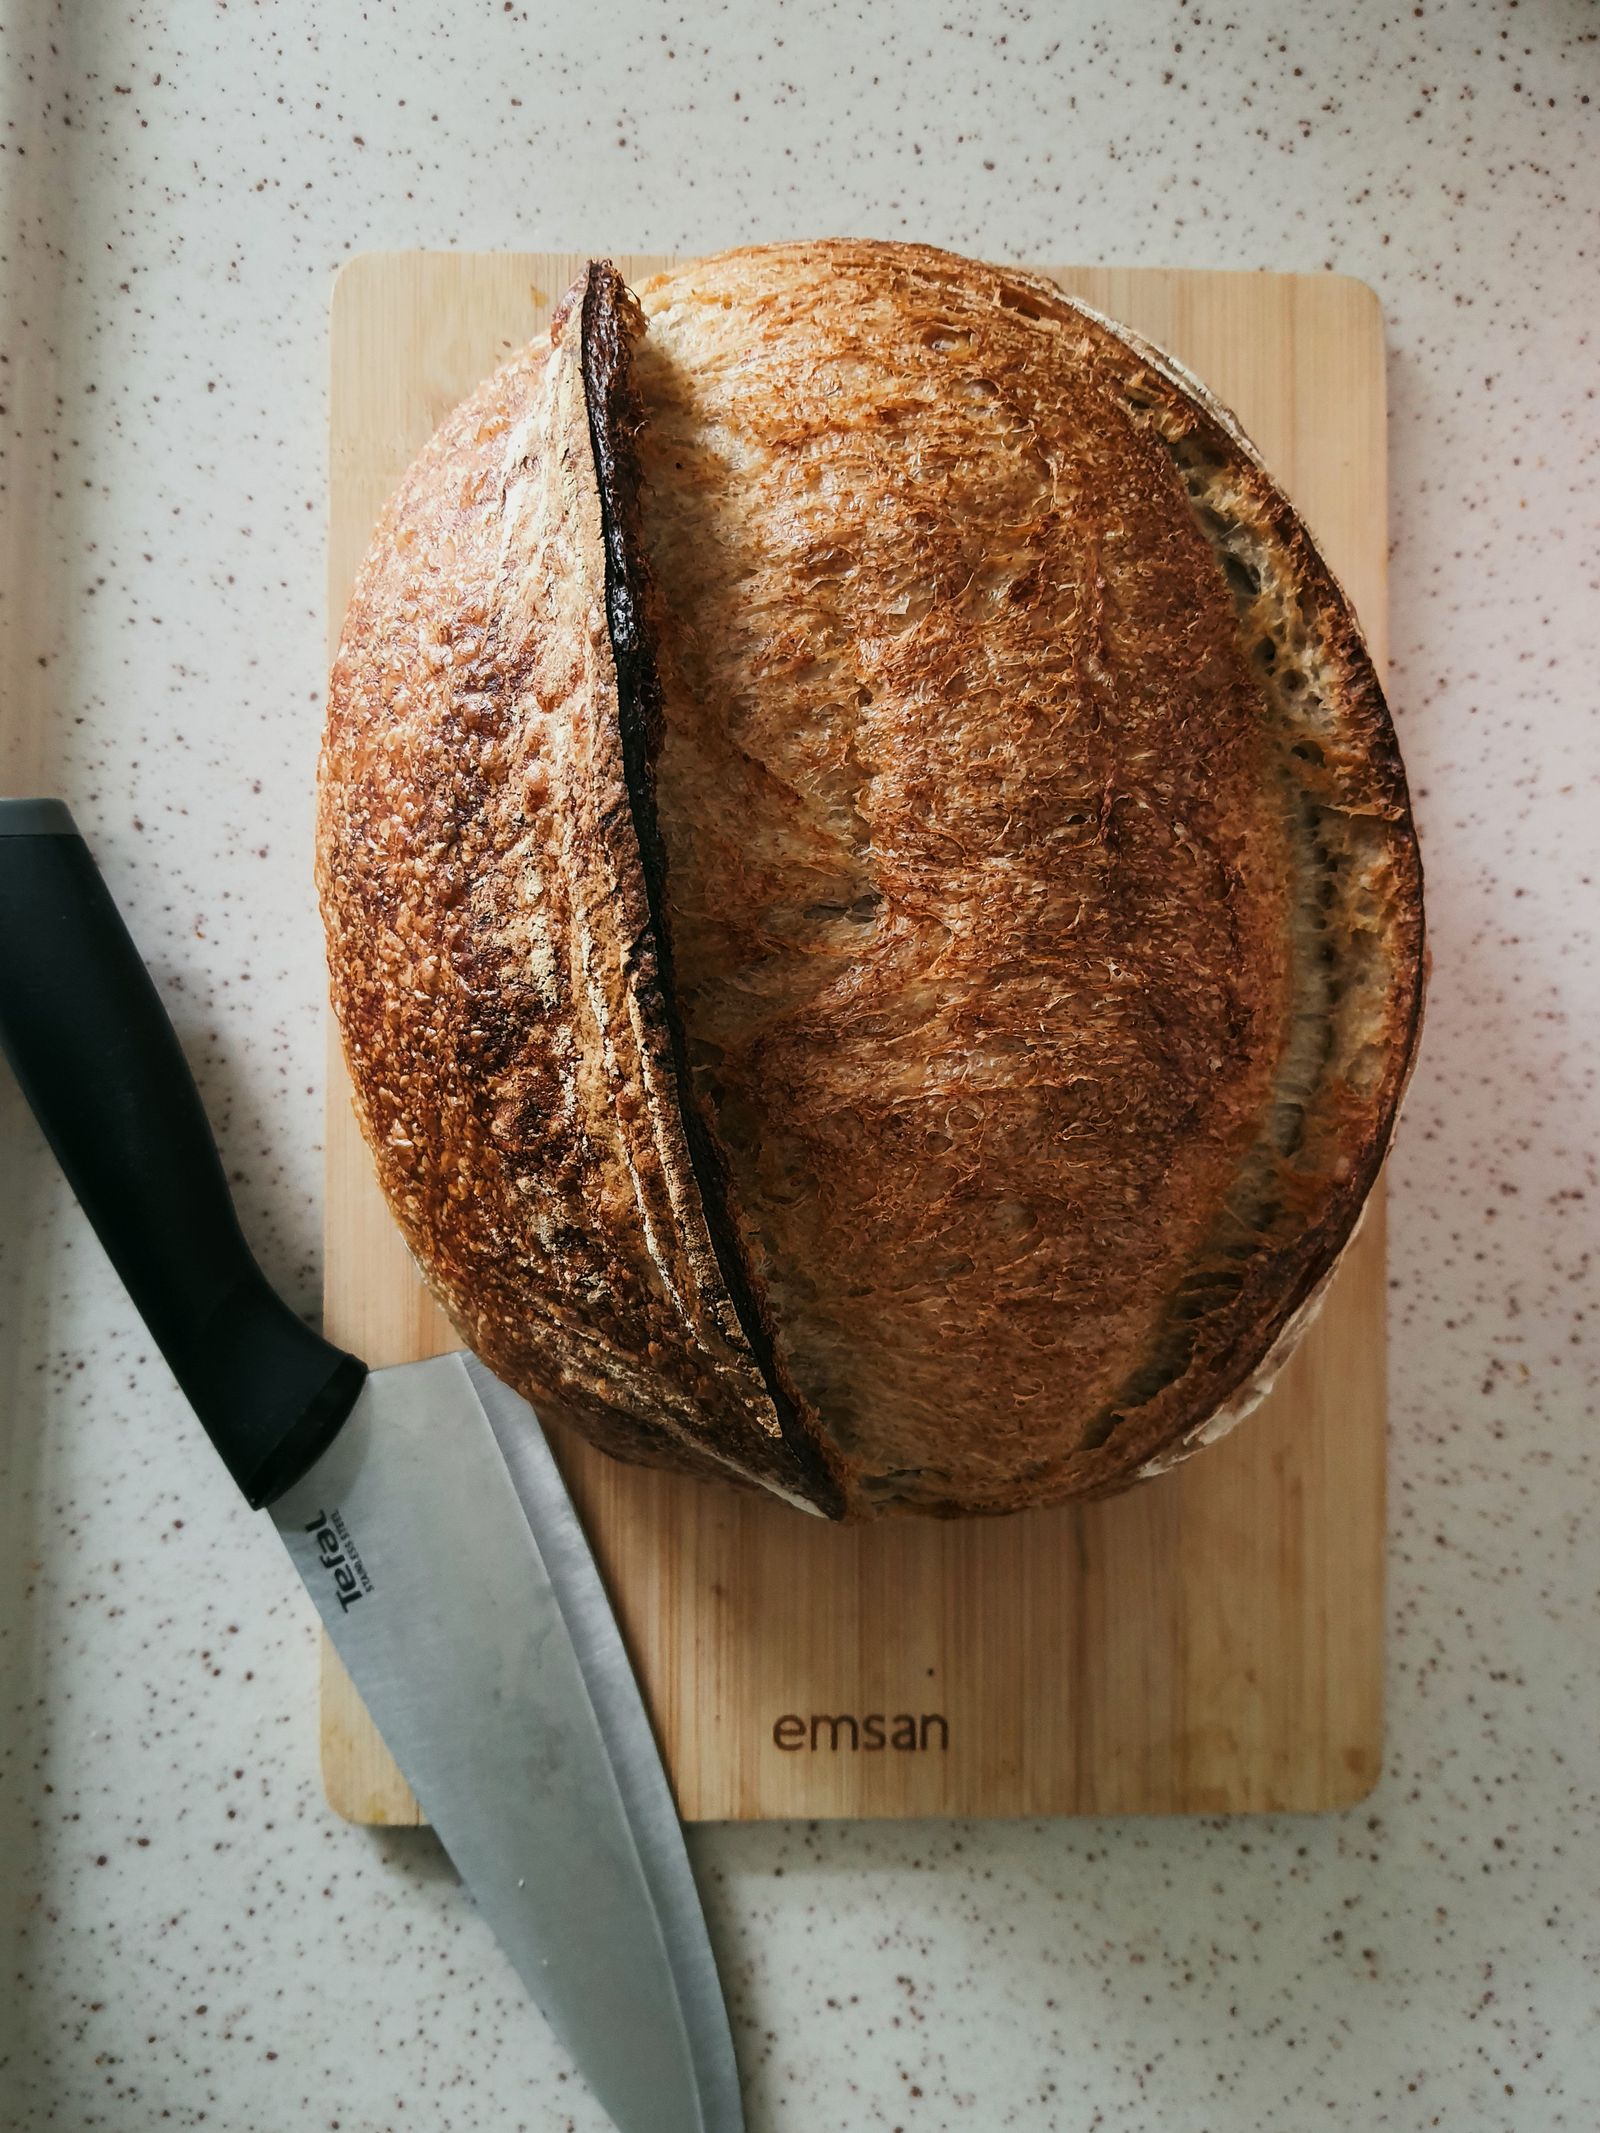
- Bake from cold. Oven to 250°C with a lidded cast-iron pot inside for 30 minutes. Tip the loaf in on baking paper, slash the top decisively with a blade, lid on, 20 minutes. Lid off, drop to 220°C, another 20 to 25 minutes until deep brown.
Reading the dough instead of the clock
Every kitchen is a different temperature, and dough answers to temperature far more than to your schedule. A cold room can double the times above; a warm one halves them.
Two checks are worth more than any timer. The poke test: press a floured finger into the shaped dough. If the dent springs back slowly and not completely, it is ready to bake. Springs back instantly, give it longer. Stays fully dented, it has gone too far.
The windowpane: stretch a small piece of dough between your fingers. If it goes thin enough to see light through before tearing, the gluten is developed and you can stop folding.
Why it goes wrong
- Dense and tight. Underproved, or shaped so loosely that it had no structure to rise into.
- Flat and spread. Overproved, or too wet for the flour you used. Plain flour cannot hold 70% water; strong bread flour can.
- Pale crust. Oven not hot enough, or not baked long enough. Bread is almost always underbaked rather than over. Brown is flavour.
- A huge hole under the top crust. The dough was not degassed evenly at shaping, or the slash was too shallow to direct the expansion.
Once it works
Change one thing at a time. Swap 100g of the white flour for rye or spelt. Add seeds soaked in water for an hour. Take the hydration to 75%. Push the fridge time to sixteen hours and see what it does to the flavour.
And let it cool properly before you cut it, at least an hour. The crumb is still setting as it cools, and a loaf cut hot goes gummy. This is the hardest instruction in bread baking and the one that most improves the result.